

A process is a set of steps that people complete in order: fill this form, then someone approves it, then the next person does their part, and so on. Use it for anything you do the same way each time, like staff onboarding, an appraisal cycle, a matter-opening checklist, or 360 feedback. This guide shows you how to build one and then run it. You will find it in the Case Manager, under Processes in the left sidebar.
How this differs from an AI Workflow: a Process waits for people (it pauses until someone fills a form or signs off). An AI Workflow runs by itself and never waits on a person. Use a Process whenever a human has to do something at each step.
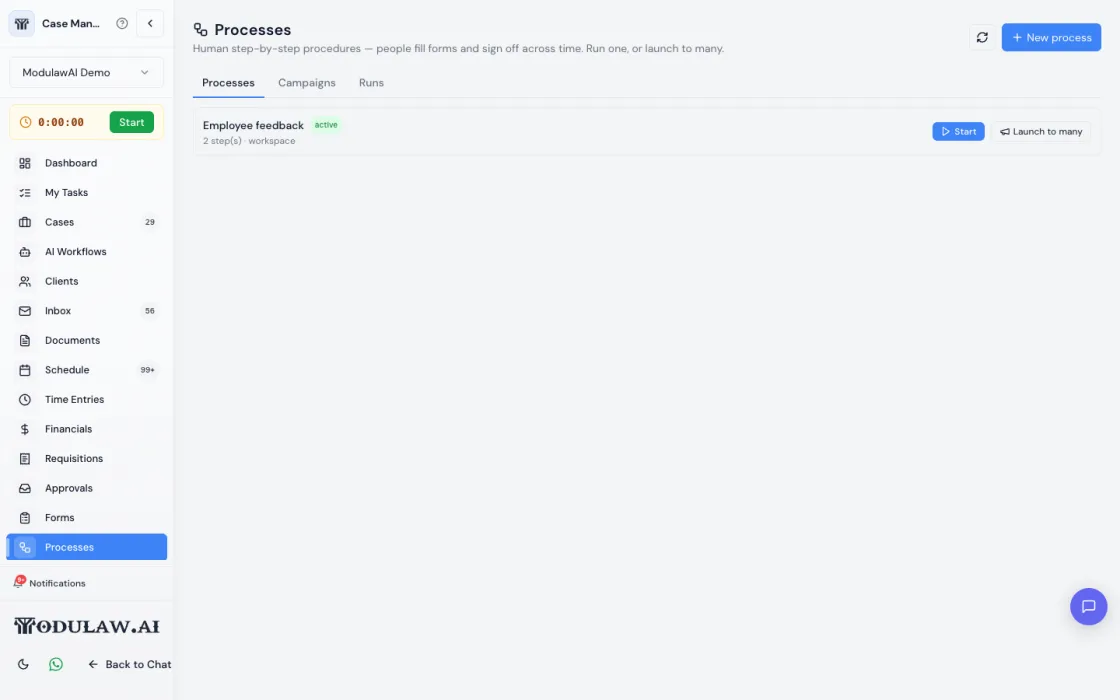
Part 1, step by step: build a process
- In the Case Manager, click Processes in the left sidebar.
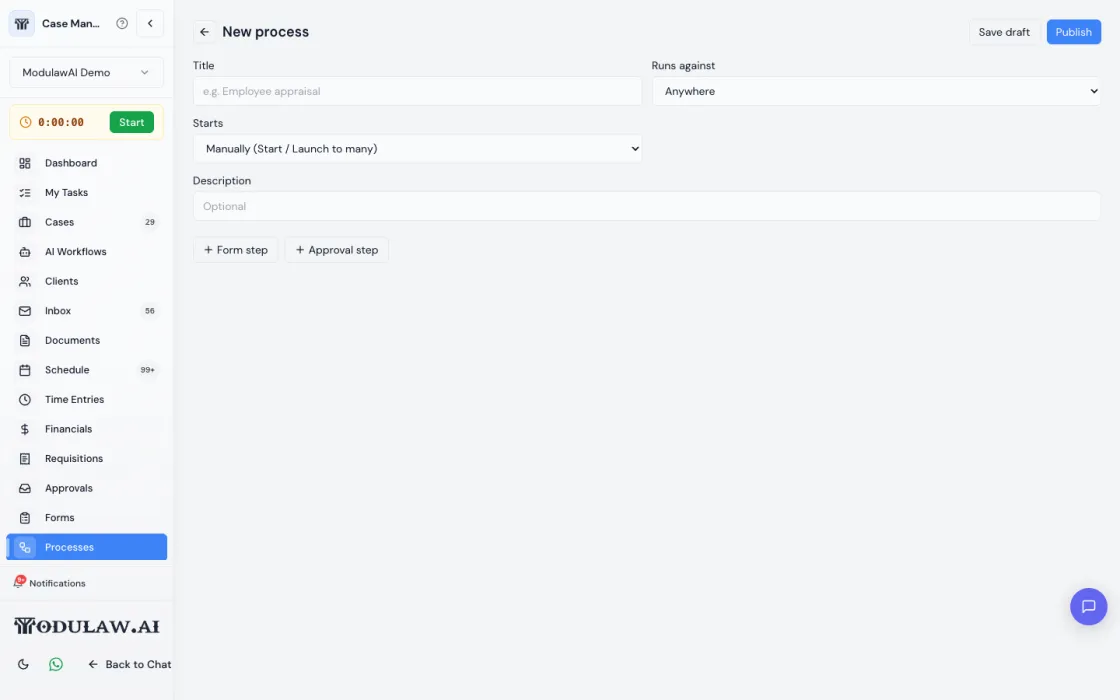
- Click New process at the top right. The builder opens.
- Type a Title, for example “Staff Onboarding”.
- Set Runs against. Leave it on “Anywhere” unless the process should attach to a case.
- Set Starts. “Manually (Start / Launch to many)” is the simplest: it means you start it yourself when you need it.
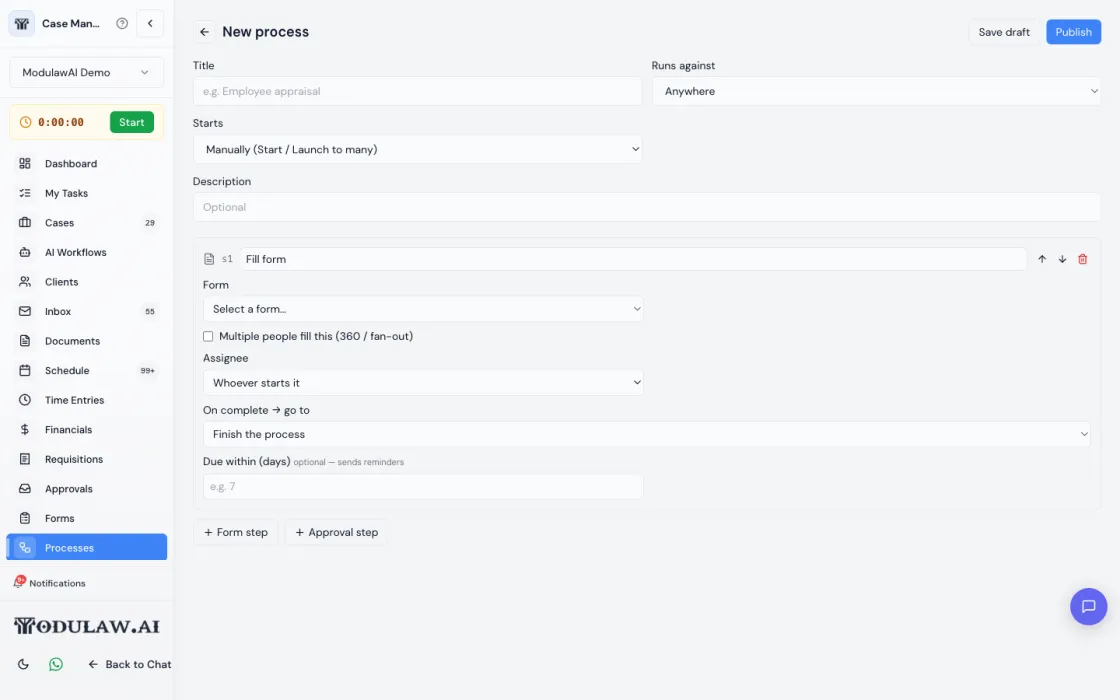
- Now add your steps in order. You have two buttons:
- Form step: a step where someone fills a form. Click it, choose which form, and choose who fills it (the person who started the process, a specific person, a role, or the subject’s manager).
- Approval step: a step where someone reviews and signs off. Click it and choose the approver.
- Keep adding steps until the whole procedure is laid out top to bottom.
- Click Publish. Your process is now Active and ready to run. (Use Save draft to finish it later.)
Part 2, step by step: run the process
- Go back to the Processes list. Find the process you published (it shows as “active”).
- To run it for one person or case, click Start.
- To run the same process for a whole group at once (for example, an appraisal for every team member), click Launch to many. This is an administrator action.
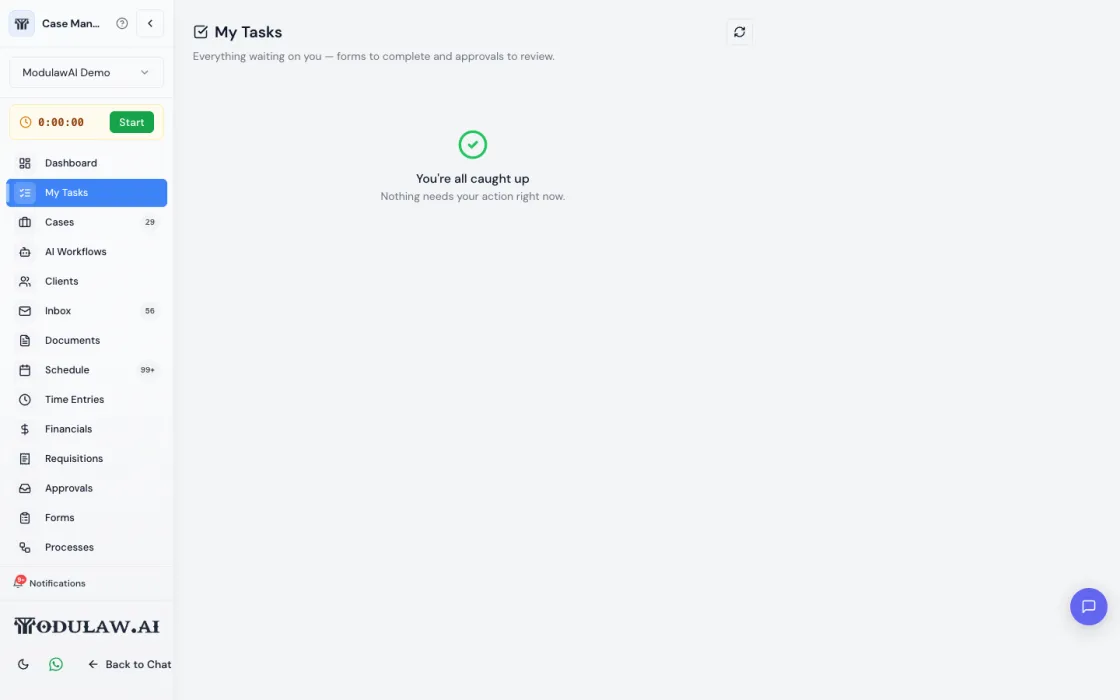
- Each person assigned to a step gets it in their My Tasks. When they complete their step, the process moves to the next one on its own.
- Track progress under the tabs at the top: Runs shows individual runs, and Campaigns shows batches you launched to many, with completion figures.
Good to know
A process must be published (active) before you can start it. A single step can also be sent to many people at once (for example, asking a whole team for feedback on one person), and the process gathers all their responses before moving on.
Who can use it
Processes are available on all plans and to all roles by default. Anyone can start and complete individual runs. Launch to many (campaigns) is limited to workspace administrators. The module can be turned on or off per workspace in Settings, then Modules, and also appears as a tab inside an individual case.